
Just like everything else, the fireplace wasn't in great shape when we moved in. I figured that since I'd be cleaning it/ painting it one day that I didn't need to tape it off while we were doing other painting, so we did our fair share of damage as well. The first thing we did to it was have someone come out and professionally clean it/ the chimney (it's a funny story involving me letting the guy in, then frantically running up to the bathroom to throw up because I was newly pregnant.) The guy said it was a disaster and HUGE fire hazard. It hadn't been cleaned in a long, long time- which obviously didn't surprise us.
That ugly fireplace mocked me my entire pregnancy. It had been a project that I had really wanted to get done, but I got absolutely nothing done during my pregnancy because I was so sick. So after R was born it was one of the first projects I decided to tackle.

If you remember, this is what our fireplace looked like before. The mantle and surrounding tiles were painted an absolutely horrible shade of brown and the tiles around it were a rusty red color.


After we painted the walls I painted the mantle and surrounding tile white. Then N put new tile on the ground. In the second picture you can see all the paint splatters the fireplace sustained. I thought it was going to be easy to clean off, I thought wrong!

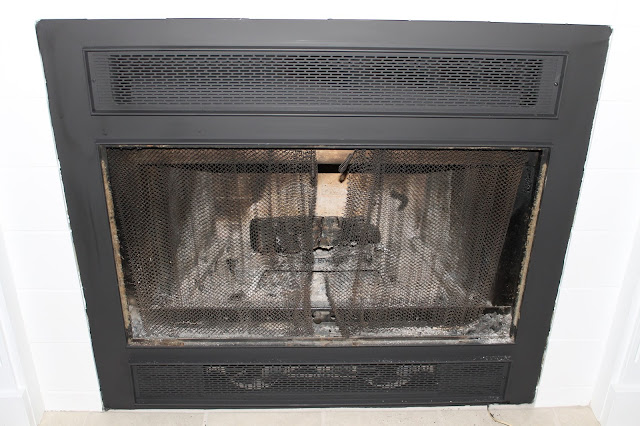
This is one of the few project I've done around here that I took fairly comprehensive step by step pictures of. It was also one of the few projects I did totally by myself so I'm sure I wanted photographic evidence of my sick skillz with a z. This is what the fireplace looked like before I started working on it.


The first thing I did was tape everything off with newspaper. The last thing I wanted was to get a bunch of black overspray on my gorgeous white mantle.


To cover the front of the fireplace I used Rust-Oleum high heat paint. It had great coverage and I really like the matte finish. It almost looks like chalkboard paint.


The next step was those hideous brass doors. I had wanted to get new doors for the fireplace because I didn't think all that burned gunk would ever come off, but it was going to be way too expensive.

Here's the fireplace sans doors. I'd like to get new mesh spark screens one of these days, but it's not something I've really looked into yet. With the doors on you can't really see the damaged screens anyway.


This is what I was greeted with when I pulled the doors off. SO GROSS.
But by that time I was used to it since this is what pretty much
everything in the house was covered with.

To my great surprise, the charred stuff came right off the glass with Goof Off! The damage on the brass wouldn't lift, but that was ok because I was going to paint it anyway.


Once again I used Rust-Oleum high heat paint- this time in silver. You aren't supposed to use the paint on anything that could touch fire, but I haven't had any problems with the backside of this being painted.


I must have lost steam finishing taking pictures of the project because I didn't have an after photos of the fireplace. So here are some I took today. This is what it looks like after year, with a full winter of use under its belt. (Please forgive the dirty tile that the wet dog just rolled around on.) I could not have been happier with the way this project turned out, and all I used was two cans of spray paint!


Before and after!

It looks awesome!! I am terrible at taping--not patient enough, haha. I need you to tape off all of my spray paint projects. I LOVE that you did the doors in Silver. Great contrast!
ReplyDeleteHaha oh man I HATE taping too! As you can see in the before picture it was not taping that got it so messy in the first place! I have sooo many areas in my house that I need to touch up because I've been lazy about taping. But the whole tape and paint over the tape in the color of the area you're trying to protect trick has helped a lot!
Delete